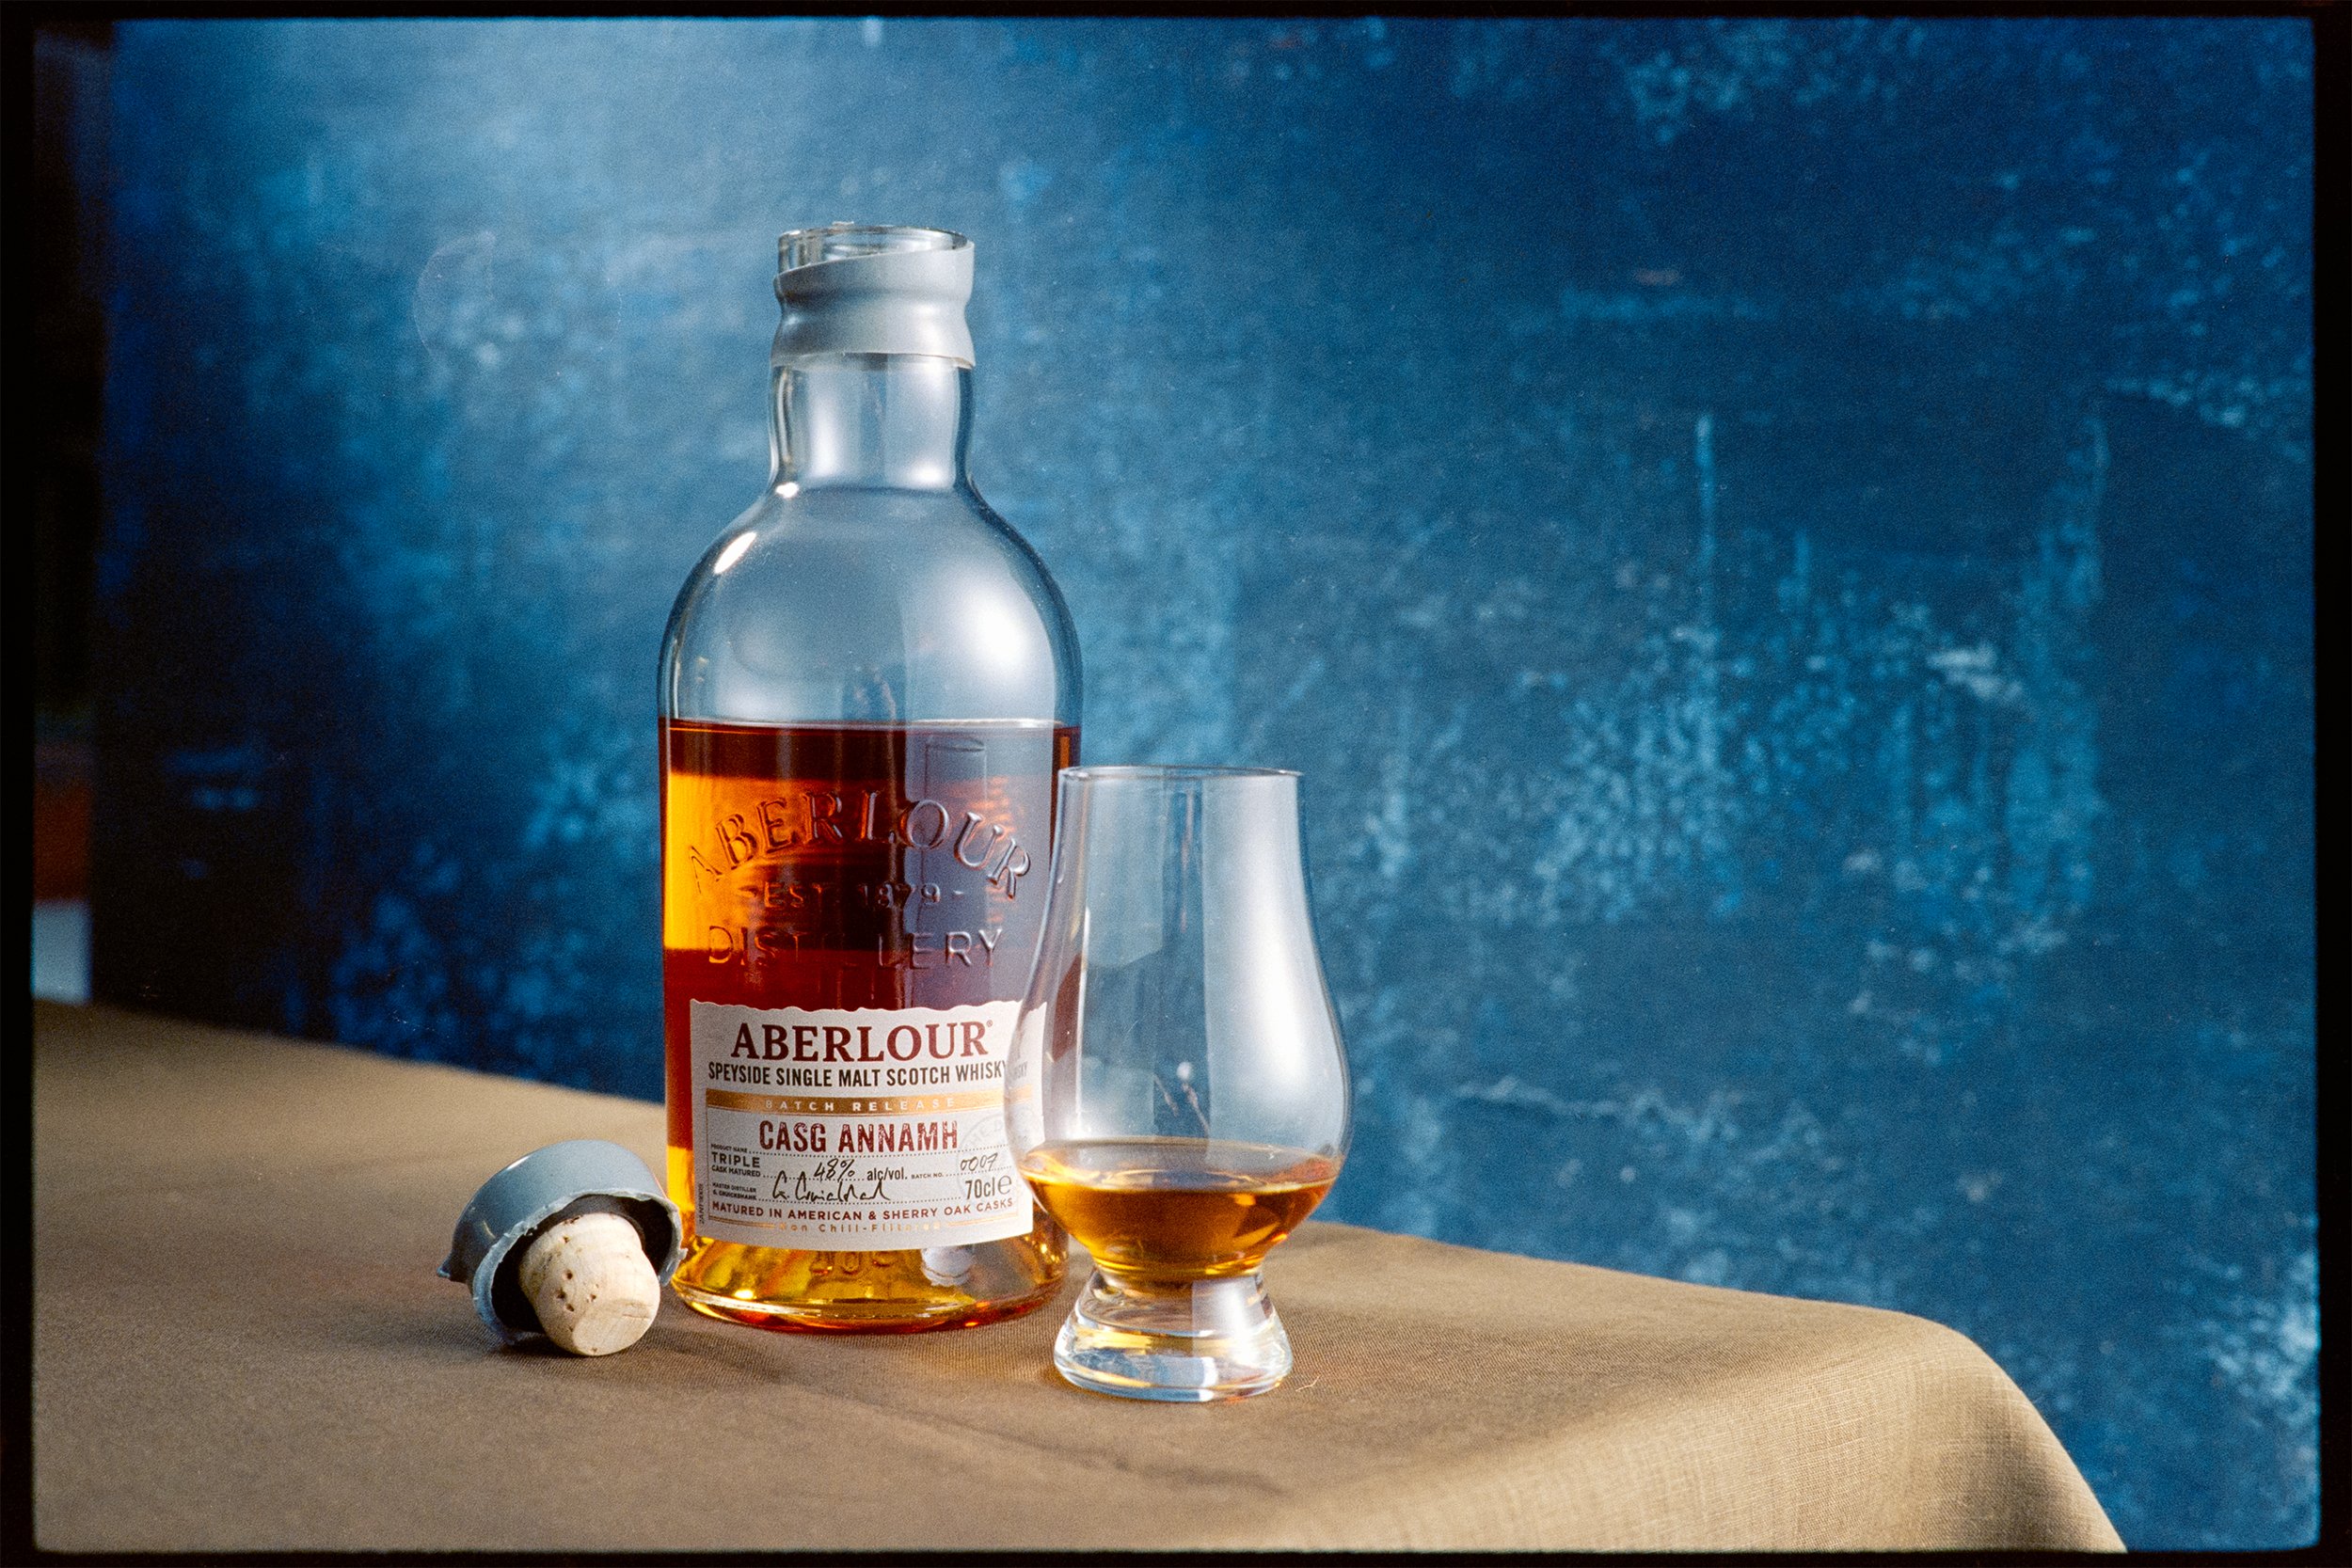
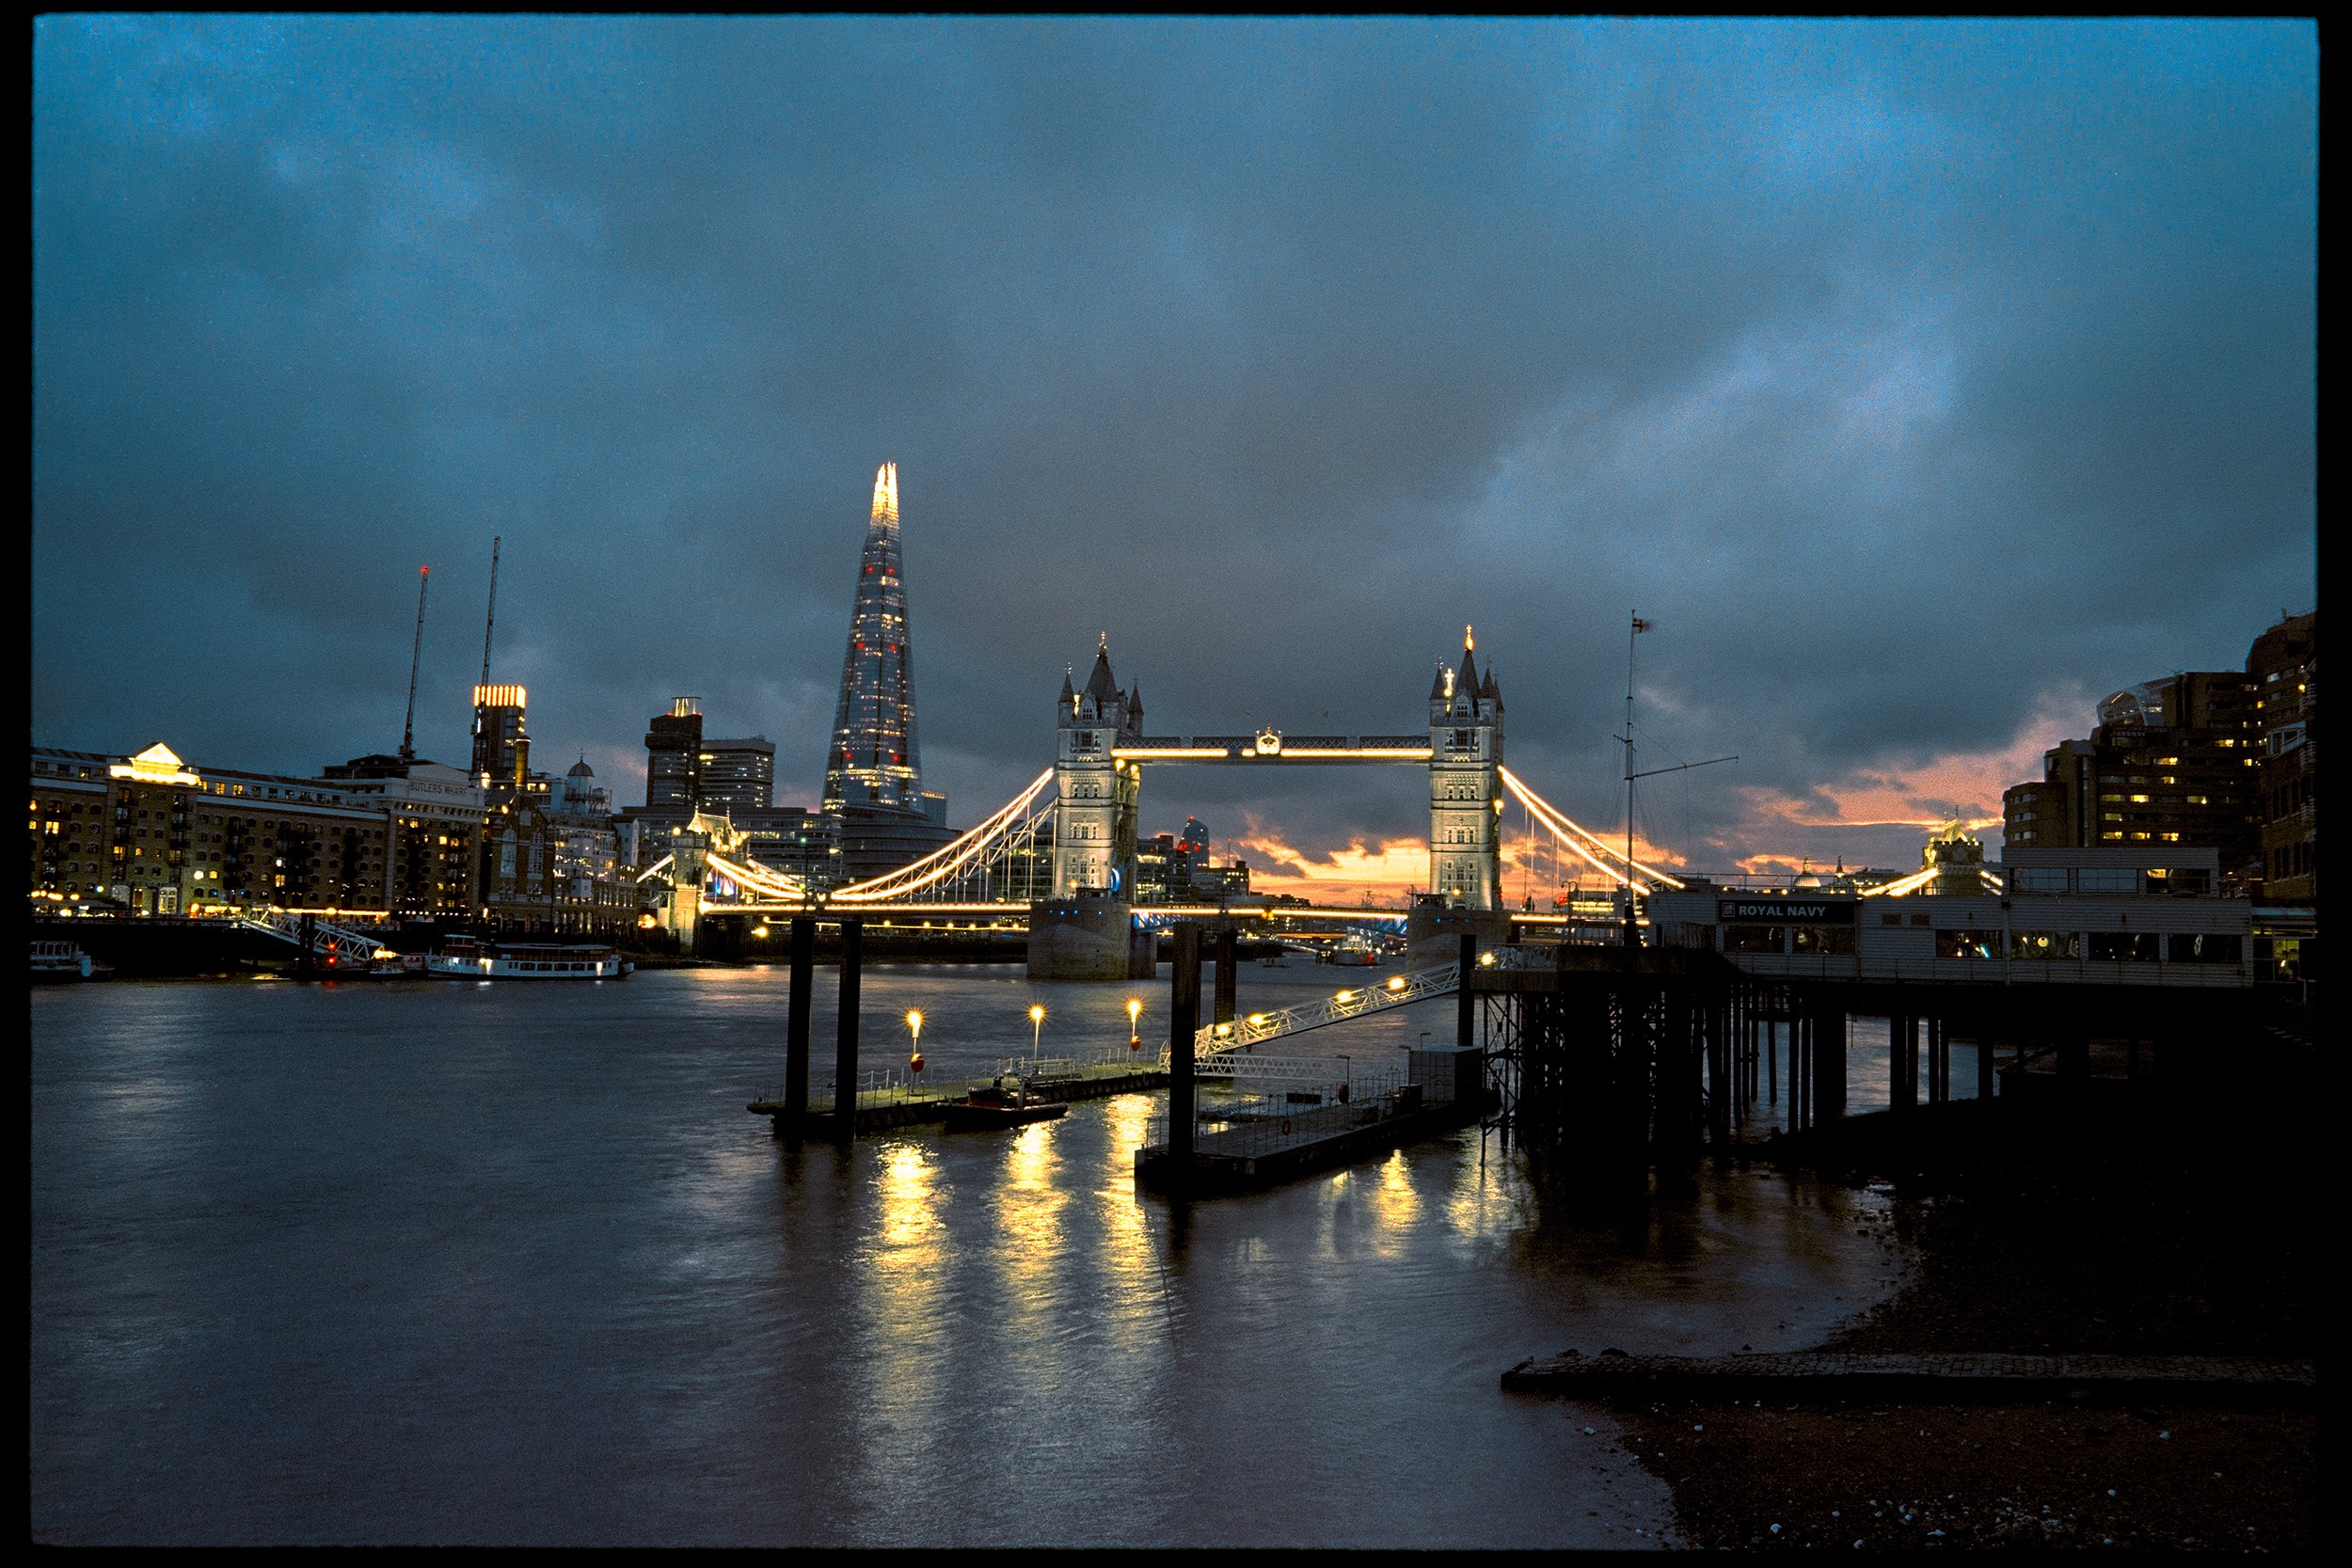
With quotes like that in mind and claims that ECN-2 process will give you a superior result when processing cinema films, It got me really interested to run a test and see how different the results are.
How it all started
Back in 2019, when I was heading to a seven day trip to Colorado I decided it was the perfect opportunity to try a new film stock. Silbersalz had been around for some time and they were offering for the very first time the chance to shoot cinema film for stills, processed in its’ native ECN-2 chemicals and scanned with a motion picture film scanner made by Blackmagic. It was all very interesting and new to me. Shooting on the same film stocks that the production companies use in big budget Hollywood movies sounded exciting to say the least. If you add to that their relatively low prices that include the purchase, development and scanning of the film along with postage as well, it made it an offer too good to pass. And it still is today.
I went with the 250D. Not having experience with tungsten films, I avoided them at the time and went for this medium speed daylight film stock. I received my rolls nicely packaged in a box of 4 and proceeded using all for of them at the trip. When I returned I posted the rolls to Germany and patiently waited for that email with the link to my images.
Fast forward a few weeks when I got the link to download the scans, and I was welcomed with something very different looking than my usual lab scans.
Silbersalz delivers their scans in .jp2 format which is a compressed but lossless 16 bit file format that takes less space compared to .tiff files. The .jp2 files are the raw scans, just converted, and then you get another folder where the images have a basic colour grade applied to them in order to look closer to what you would expect.
And oh boy are they flat. Their scans are so flat that will remind you of grey digital raw files, only these are from 35mm film.
The film has great latitude and combined with their processing and scanning you end up with these files that give you so much room to play with when colour grading. Although this might sound unattractive to people that don’t enjoy the long grading process, I was very intrigued to see what I can get out of these files.
I spent quite a lot of time editing the photos and I’m very satisfied with the results. Though I did understand that this is not the route I’m willing to take for every roll I shoot. Grey raw files are not needed for every type of shoot but there is definitely a time and a place for that, and it’s nice to have the option.
Right around that time I started noticing that people are getting into bulk loading motion picture stocks straight from 400ft cans and developing it in C41. I remember Eduardo Pavez Goye doing quite a few videos on shooting Vision3 films.
As I lacked the space and the experience of developing colour films, I went with the second best option. Buying rolls from eBay sellers and then sending them to labs that could process ECN-2. I was always pleased with the results, even positively surprised from the expired Fuji Reala 500D I shot, which turned out just beautiful.
So naturally, when I came to have the space and after starting to scan film at home , I decided to go all the way and bought a 400ft roll of 500T, which I started developing myself in C41 chemistry.
Why C41?
All the knowledge I had was from people who had done it before. I had seen some really nice results from these films developed in C41 that I decided it was worthwhile to give it a go and learn a thing or two in the process.
The inevitable comparison
While I have tried these films both in ECN-2 and C41, I have never seen any comparison between the two processes.
Is there a difference in latitude? Does one process give you flatter results while the other giving punchier images? Do the colours get affected? Are they relatively neutral or do you get colour shifts?
And if there are differences, how significant are they?
All these questions I had were left unanswered. With the only insights coming from anecdotal quotes or writings through the internet. I’m not here to doubt Silbersalz or any other lab that spends their daily lives working, testing and evaluating a chemical process with the only goal being consistency and high quality results, but I find great value in experimentation.
Through experiments and tests we get to understand things better. And as someone who lacks the knowledge of deciphering chemistry, I understand something better in practical use.
Thus came the desire to do this comparison.
The setup
The idea was simple. Using two Canon EOS cameras, the 50E and the 600, with the same lenses and exposure settings in order to capture two nearly identical images. I would then proceed to send one roll to be developed in ECN-2 chemistry and develop the other myself, in C41. Although this is not the most scientific test and it doesn’t eliminate every posible error, I believe that it’s good enough to get a decent comparison.
I used a tripod for the majority of the images in order to get a similar framing and shot everything with the Zeiss 28mm and the Zeiss 50mm, with only one of the images being shot with the Canon 100mm macro lens.
I shot both rolls over the course of two weeks, during daytime and at night. I also set up a couple still life shots, using studio flash lights to see how the film will react in this scenario. I was aiming to include some portraits as well but one of the rolls was a bit shorter than I thought and I didn’t want to extend this comparison by shooting two more rolls. So I left that out.
Once I was done shooting, I sent one roll to the lab to be developed in ECN-2 and proceeded developing the other one myself in C41.
I’m using Rollei’s Colorchem C41 Kit for the development and my setup is comprised by a water bath with a sous vide temperature controller. I’m developing at 38°C and to remove the remjet layer I’m using the bicarbonate soda method along with a final scrub before the stabiliser.
When I had both rolls developed I proceeded scanning them myself using the Canon 6D with the 100mm USM macro lens. My light source is the Viltrox 116T which is at 95 CRI and I’m using the Essential Film Holder to keep the negatives flat.
To convert the negatives I’m using Negative Lab Pro but I also did a manual conversion on one of the files in order to see if that affects the images differently.
Canon EOS 600 and EOS 50E
The results
Let’s start with the first thing I noticed which was a big surprise to me.
The files look incredibly similar to one another. I truly wasn’t expecting that.
On most occasions I would struggle to find any differences and the ones I was noticing were so minimal that felt almost insignificant to me. Even though I was shooting with two very similar cameras, the exact same lenses and same settings, there is always the possibility of small variances. The images were probably taken between 30 seconds and 2 minutes apart which in some instances can be enough time for the light to change. And then of course one cameras shutter speeds are not perfectly matched to another which can lead to slightly different exposures. Finally one of the rolls was developed by a lab and the other at home, ideally I would prefer to have both developed by a lab in order to ensure consistency in the results. I’m doing my best here with a decent setup but at the end of the day it’s still a manual process. When all these things are taken into account it’s surprising how close the images are.
All the files bellow are straight up conversions from NLP without any further edits, apart from colour balancing some of the images (keep an eye on the image description to know which ones are colour balanced) . If I were to move the sliders a bit I’m pretty sure I could match them nearly to 100%.
For the conversion I left the colour model to “Frontier” and the pre-saturation to the default “3”. The tones on the “Edit” panel were left to “LAB - Standard”. Note that you can always use one of the “log” profiles if you want a flatter starting point, similar to what you would get from Silbersalz or any lab if you ask for flat scans.
After seeing all the results I started having some doubts. Is it possible that the conversion software is playing a bad role in this comparison making all the images look nearly identical?
So, I decided to take one of the pair of images that looked somewhat different and did a manual conversion plus a full on edit in photoshop. My goal wasn’t to match the two images so I treated them as separate and proceeded do edit the files until I was happy. I wanted to edit the images in order to look as close to the scene as I remember it.
And here are the two files
Can you guess which is which?
Do you see anything repeatable in the images that would give away one process vs the other?
The only two things I noticed is a slight magenta cast on the ECN-2 files and a flatter less grainy negative during scanning which didn’t translate on the converted images.
Conclusion
There are several takeaways from this comparison with the most important for me being that I’m not missing out or massively degrading the film when choosing to cross process it in C41. The colours don’t look wild with the shadows and highlights being full of detail.
To cap this off I want to stress that I’m open to be corrected if anyone has different results to report. If you think I messed this up somehow and failed to show the differences of the two processes then please leave a comment and feel free to share your own results if you did a similar test. I’m keen to continue the conversation in the comments down below.


