

After testing the film with both the ECN-2 and C41 chemistry and getting some very similar results when dslr scanning (digitising) the two rolls, I wanted to push things a little further and since I recently started printing in a darkroom, I thought it would be a great opportunity to explore the differences a bit more.
Printing my work
This year started off with a strong resolution of printing more of my photos. It is something I had been missing a lot the last few years. And the few times where I did print my photos in the past it always brought me a lot of satisfaction. There is just something magical about looking at a printed image. Going all the way from capturing an actual moment in time to putting it onto a piece of paper that you can hold and look at. It makes it all feel real. Too many images are lost in our memory, occupying digital space in a hard drive or lost in a cloud never to be seen again. Transformed from memories into nothing more than 1s and 0s.
I realised that the amount of energy and time I put into making images would have to be ofsetted by an equal amount of time, putting these images on paper. Roughly 12 years ago, during my time studying photography, the most enjoyable course by far was the darkroom printing class. Spending my time trying to figure out how things work and making prints out of boring photos was the most fun I had in these 2 years. Naturally, this left me craving for a darkroom ever since. A desire that remains unfulfilled as I still don’t have any available space for creating one.
Living in London is part of the extra space problem but luckily the city redeems itself as it manages to provide several options when it comes to renting one. Hence my decision to pursue my desire of printing my work in the darkroom. A few months down the line, trying to figure out everything and learn the ins and outs of the craft while I have so many questions and things that I want to explore and test. One that came up quickly was trying to print cinema film.
Last year I did a comparison of two development processes on Kodak Vision3 500T motion picture film stock. I shot 2 rolls on similar cameras with the same lenses and exposures and then proceeded developing one in ECN-2 chemistry and the other in C41. Then I scanned (DSLR digitisation) the negatives, converted them with Negative Lab Pro and compared the images.
You can have a look at the results here.
Briefly I will say that I was surprised to find out that they look very close to each other when scanned. Now that I have access to a darkroom I was intrigued to make a part two comparison, this time with RA-4 prints.


Getting Technical
All the prints that you will be looking at in this blogpost are printed by myself in the darkroom. Before I lay down the specifics it’s worth noting that I am by no means an expert in darkroom printing. Quite the opposite, I am actually very new to it. I did my best effort to get good prints that would help me visualise the differently processed films. If an experienced technician was asked to match the two prints they would definitely do a better job than I did, however I believe that my efforts are sufficiently adequate to help us look at the differences. Besides, matching the two is not the real goal here.
All the prints are straight prints. Meaning there are no local adjustments or manipulations made. No dodging, no burning, no pre-flashing or any other darkroom techniques. I used a DeVere enlarger and printed everything on Fuji Crystal Archive II, on glossy finish. I then sent all the prints out to a lab to be scanned on a flatbed Epson V800. After getting back all the files I did my best effort to colour match them with the actual prints in photoshop. Having the physical prints next to my monitor I tried to get them as close as possible. As you probably understand, the different monitor on which you are looking everything right now, the image compression and obviously the YouTube compression for anyone who watched the video will definitely have an impact in what you are seeing. Hopefully you will still be able to see the differences.
Under the images, on the description you will find the filtration notes of each print. If you have any questions, or you need any clarifications on how I conducted this test then feel free to reach out to me.
The Negatives
Let’s start by having a closer look at the negatives. Top will be the ECN2 and bottom the C41. At the end I threw in a strip of Kodak Portra 400 developed in C41, just as a benchmark. Since Portra 400 is probably the most popular film, I believe that most people are familiar with it and it serves as a good base to compare it with the Vision3 stock and see how it differs.
Can you see the recurring theme here?


The Prints
Looking at the negatives the first thing that pops is probably the contrast difference. The negatives developed in the ECN-2 chemistry look flatter, less contrasty, while the C41 developed film looks like it had a bump in contrast. Everything looks a bit more saturated and contrasty. It doesn’t look like a night and day difference but definitely very noticeable.
If you had a look at my previous blogpost or YouTube video you will probably remember that this difference didn’t really translate when the two films where scanned.
My theory is that since the film is able to hold so much information and with the digitisation techniques that are available to us along with the incredible power of editing software like photoshop, it’s so easy to pull out most of the information held in the negative, convert it and then manipulate the colours and tonalities as much as you please. Spent a couple of minutes at best and you can end up with nearly identical scans no matter the developing method used.
When it comes to darkroom printing though, things work a little bit different. Colour printing in the darkroom with RA4 chemistry doesn’t allow for the same level of manipulation. If you have played a bit with B&W darkroom printing you might know that you can add or remove contrast as much as you please, going as high or as low as you like. But with colour printing it doesn’t really work like that. Although there are techniques that can help with contrast control, it is not that straightforward. Though you have quite a lot of control when it comes to colour changes. That also means that your choice of film, exposure and then development become really crucial to the final look.
All of that suggests that if we print the negatives that I shot for this comparison we should end up with two different prints that would display the traits of each development process. Since the cameras used were similar, the lenses identical and the exposures exactly the same, that leaves us with only one main variable, the development.


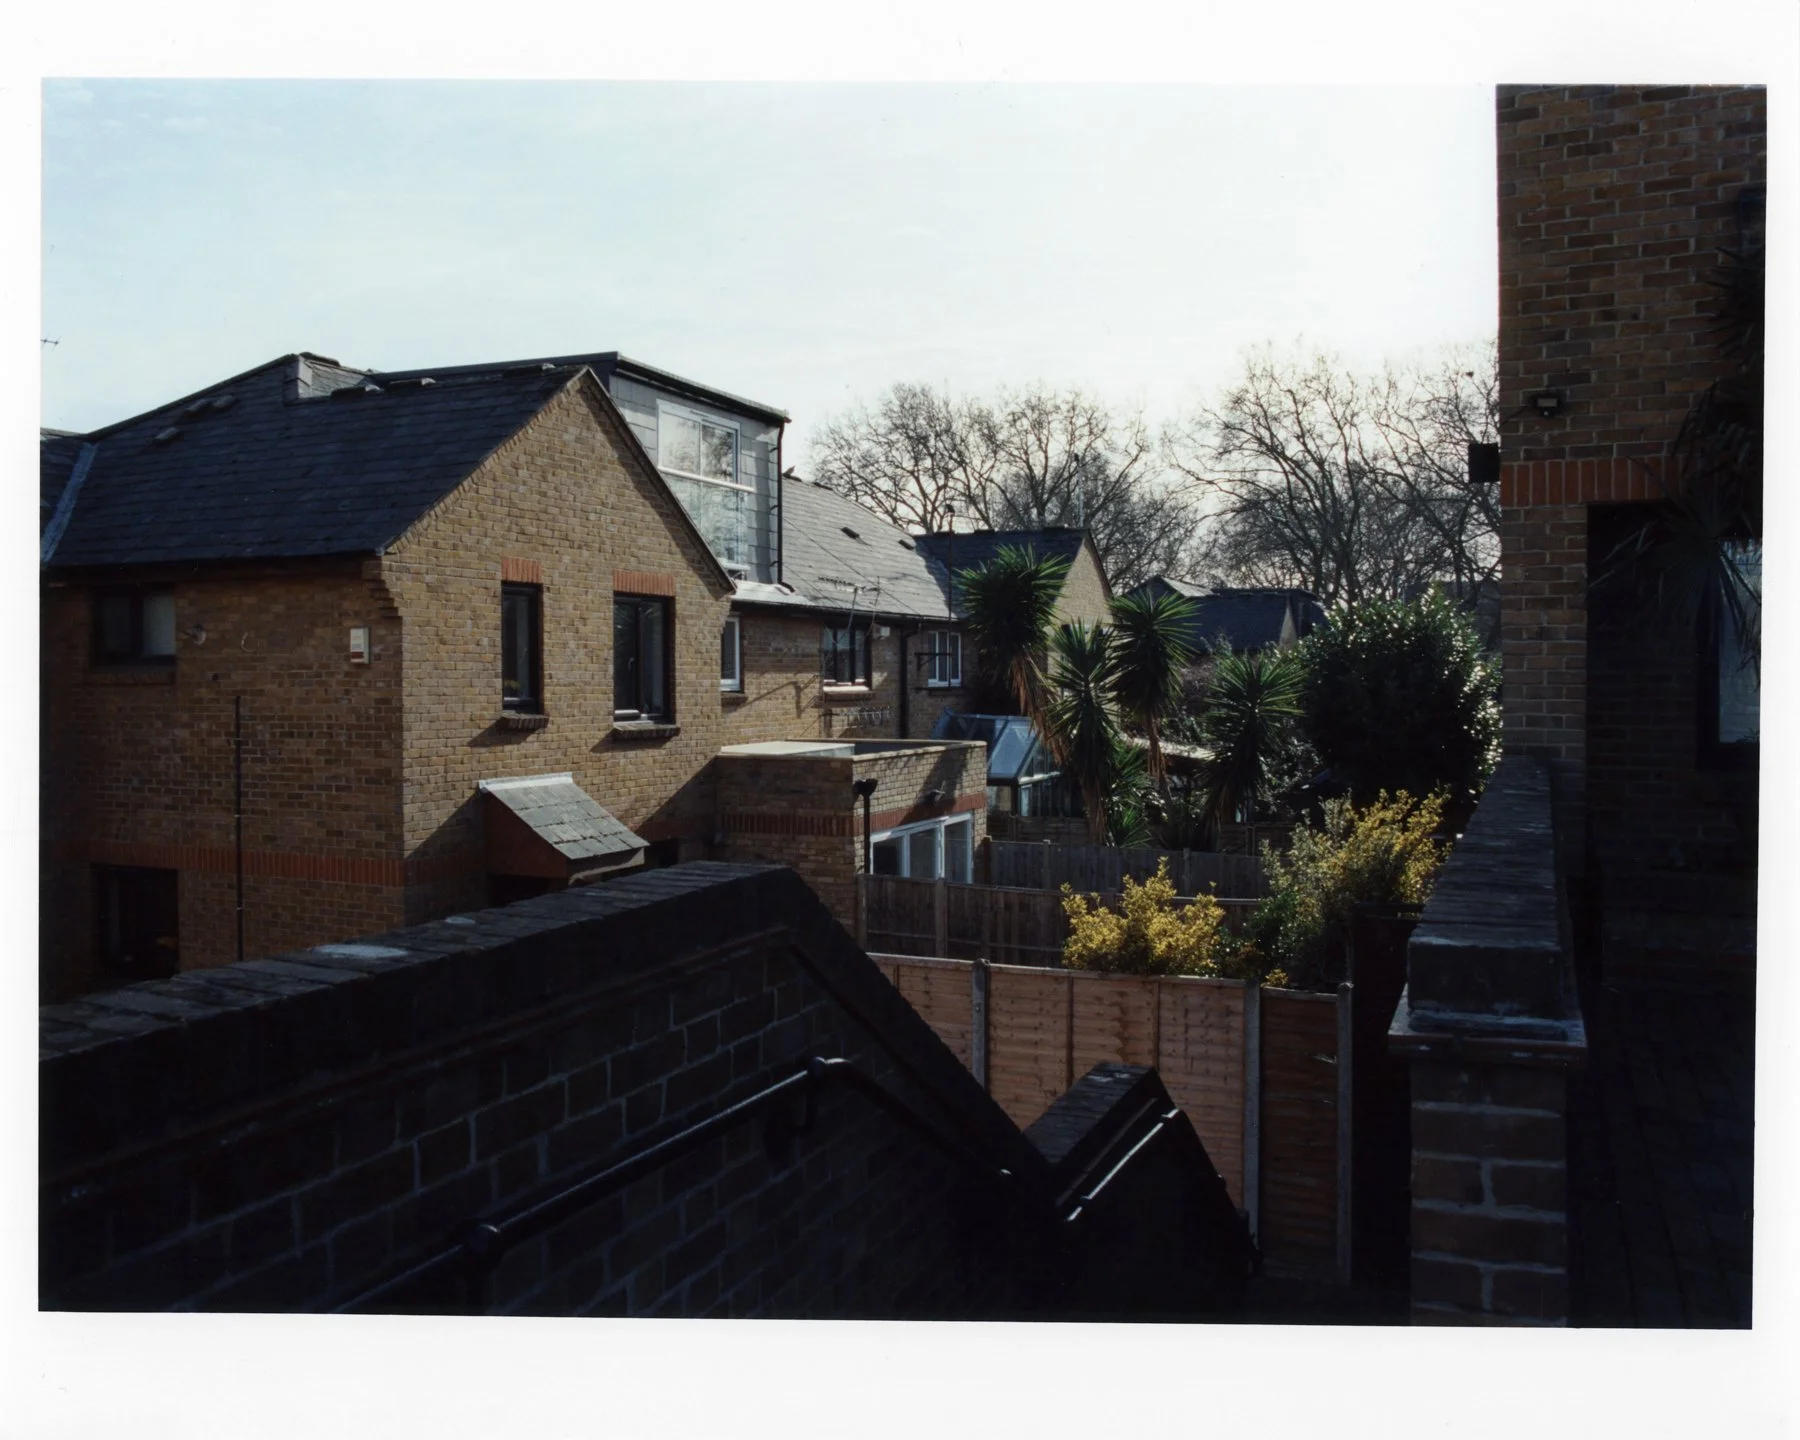


The results
As you can, we are finally able to visualise the inherent differences of the two developing methods. The clear contrast difference as well as some colour shifts. I am pretty confident that if matching the two prints was the goal then a skilled darkroom technician would probably get a very decent match between the two. However my goal was to see how each process behaves.
It was a very fun experiment and I learned quite a lot. I will close off this blogpost with some thoughts on the results.
Closing Thoughts
Even though the ECN-2 prints were not as lively as the C41 equivalents I will say that they had something natural about them. A calm feeling that left me with the impression of looking at the actual scene. C41 on the other hand looked a bit too punchy for my liking in most cases. Something in between the two versions would look much more realistic to me.
What I think is very interesting is that since I know that when scanned, the films can look nearly identical, I am now left with a creative choice when it comes to printing. If I shoot a roll in a high contrast scenario and want to retain all this information on the print then I can develop the film in ECN2 and have the best of both, scan and print. Conversely, in a low contrast setting I could develop in C41 and get the contrast boost I need when printing while retaining a great scan at the same time.
Of course all of these are just thoughts that would need a lot more experimenting. Potentially if you deploy any contrast control techniques in the darkroom you could get the same result, but that’s something for some future testing.
I hope you found this comparison useful and I would love to continue the discussion down in the comments below. If you have done anything similar or have any different experiences when darkroom printing motion picture film, let me know about your findings. Also if you think there was an error on my approach or something I neglected while testing the film feel free to contribute with your knowledge or experiences.
Resources
Note: Some of the following are affiliate links. Using them comes at no extra cost to you, but it helps support me with a small commission on qualifying purchases.
Further Reading
Part I of the ECN-2 vs C41 comparison
Bulk Loading 400FT Motion Picture Film
Film/Darkroom Tools & Equipment
Fuji Paper - https://amzn.to/4eRMlWs
Archiving Sleeves - https://amzn.to/3XUuuYT
Rocket Blower - https://amzn.to/45TxF4S
Cotton Gloves - https://amzn.to/3Y0zQlc